
Global recording shortcut: Press
⌥⌘N to start or stop recording from anywhere on your Mac. Rebind it or clear it in Settings → Shortcuts.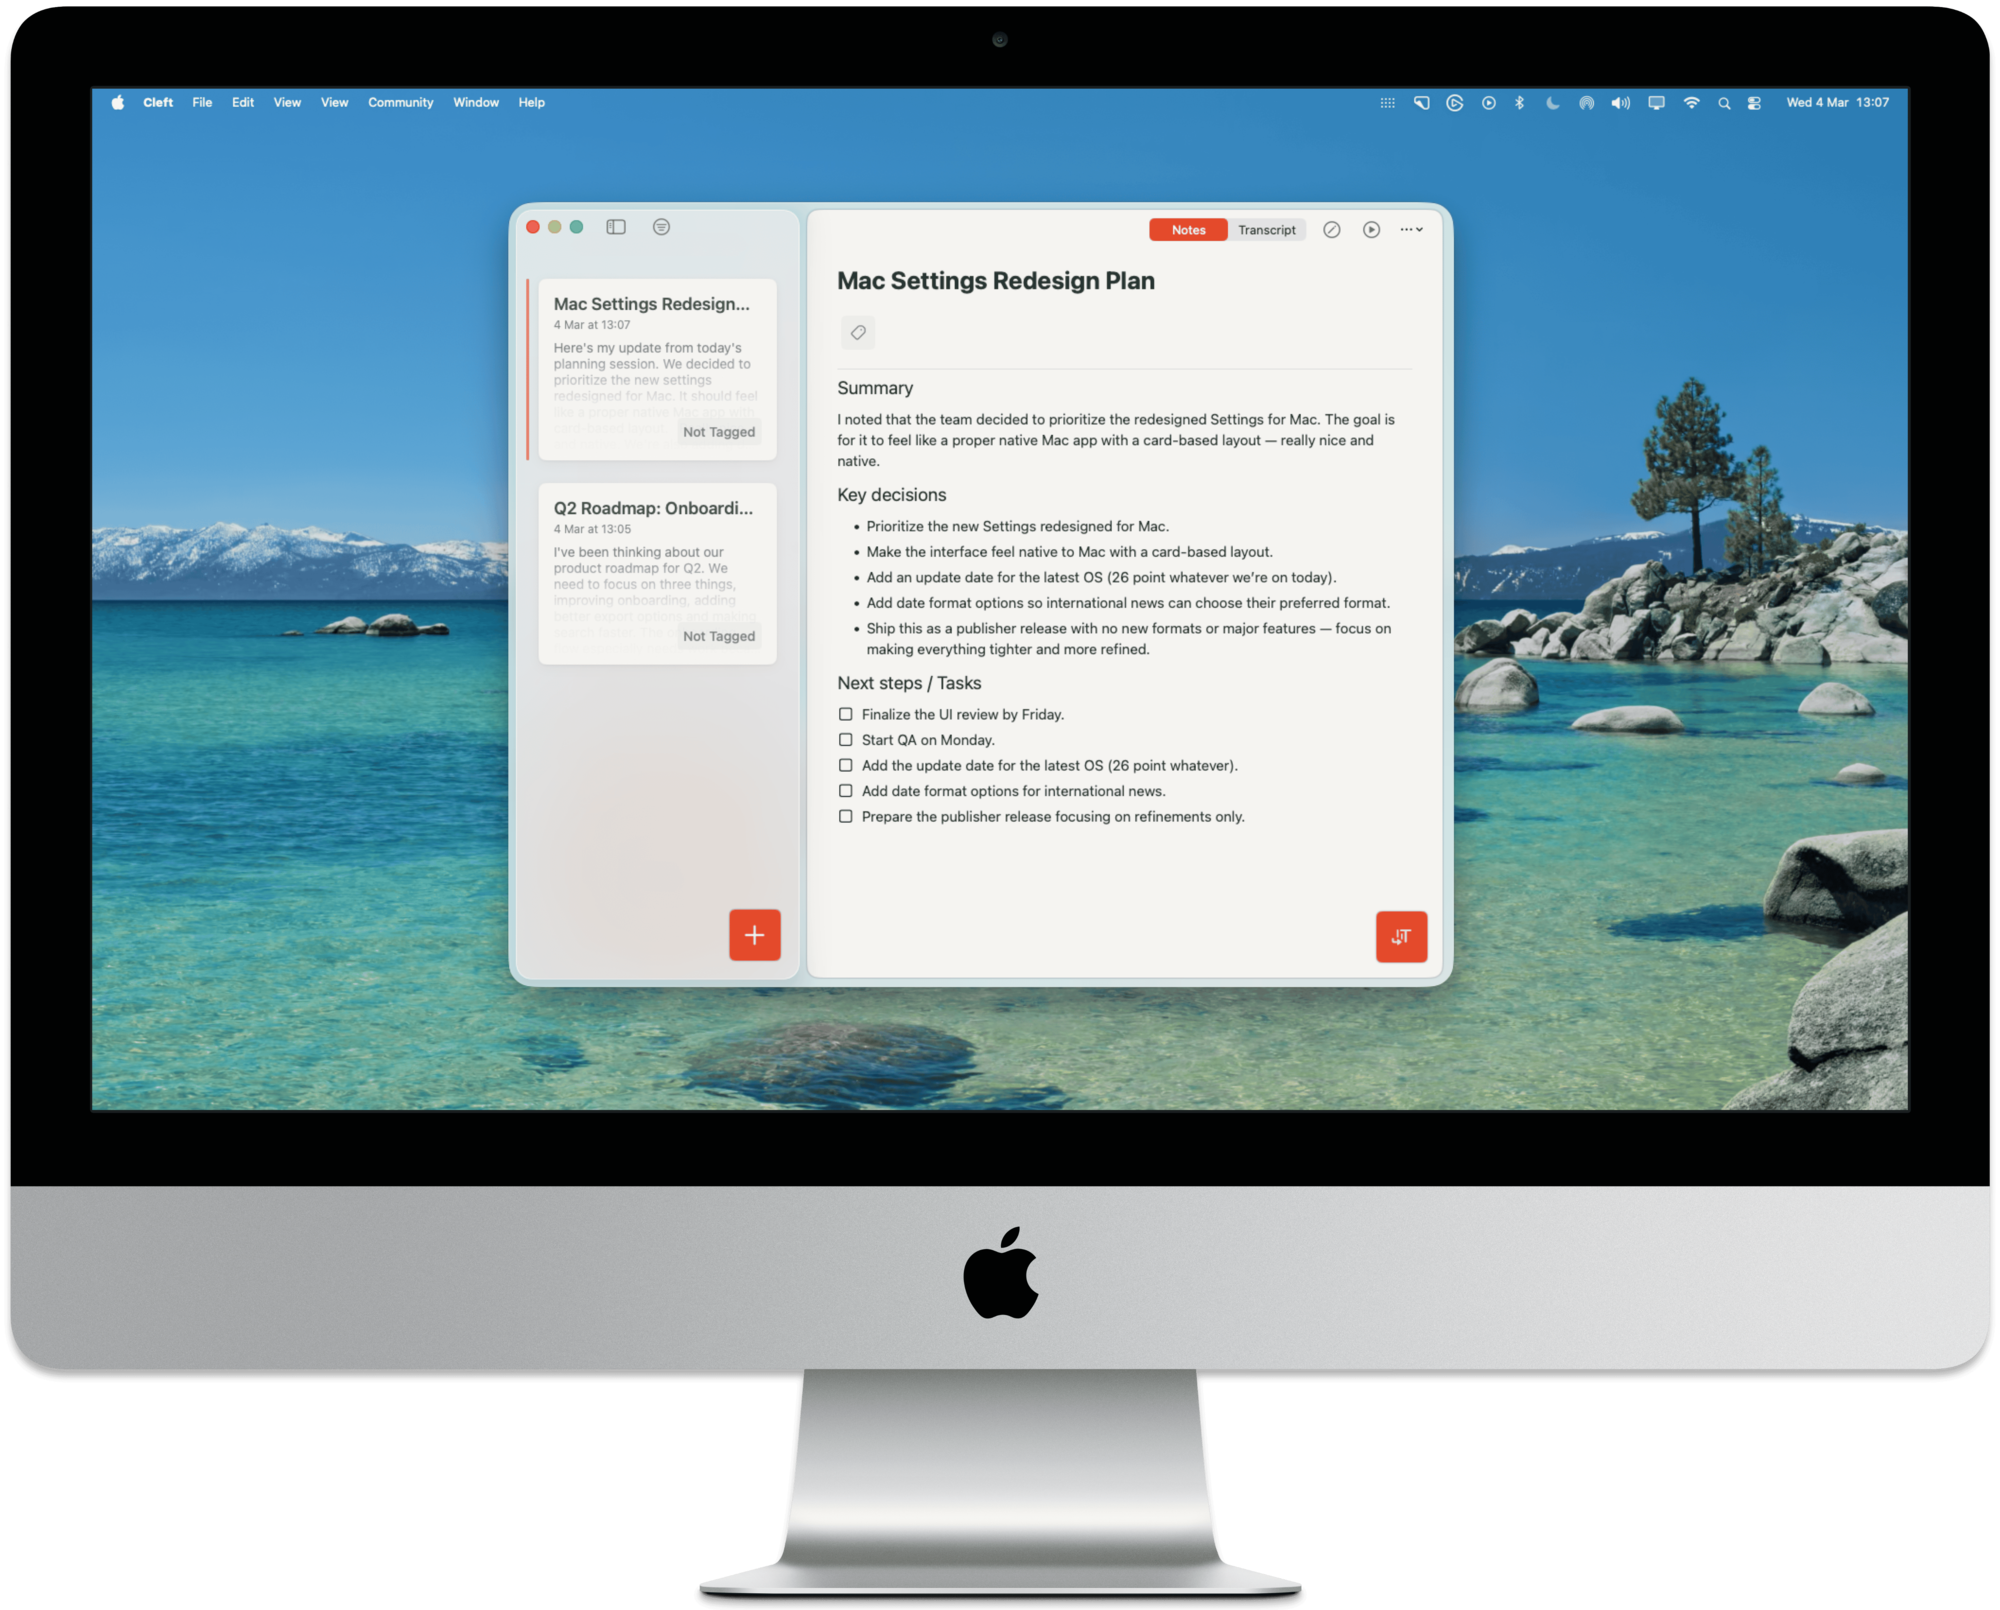
Start fast
Launch with⌥⌘N, Spotlight (⌘ + Space, “Cleft”), the Dock, or Launchpad.
⌥⌘N- Start or stop recording from anywhereN. New voice note⌘ + N. New text noteShift + N. Continue last note⌘ + 1to⌘ + 9- Jump to a note in the current list⌘ + ⏎. Save note⌘ + [and⌘ + ]. Back and forward through notes⌘ + R. Refresh⌘ + F. Find⌘ + /. Toggle filter⌘ + ,. Settings⌘ + .. Writing Style⌘ + W. Close window
Record a note
1
Press N or click the record button
Press N with no note selected, click the record button at the bottom of the sidebar, or pick File → New Voice Note from the menu bar.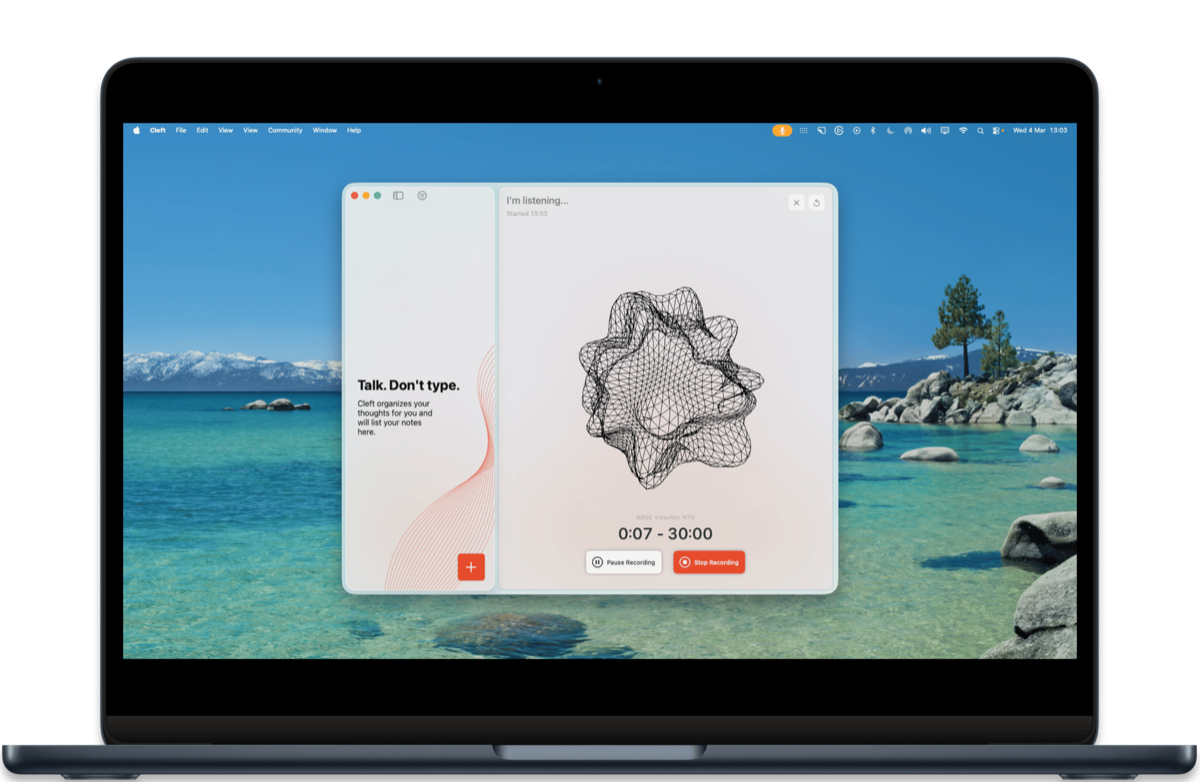
2
Talk, then stop
Use Space to pause and resume, Esc to cancel. Hit Stop when you’re done.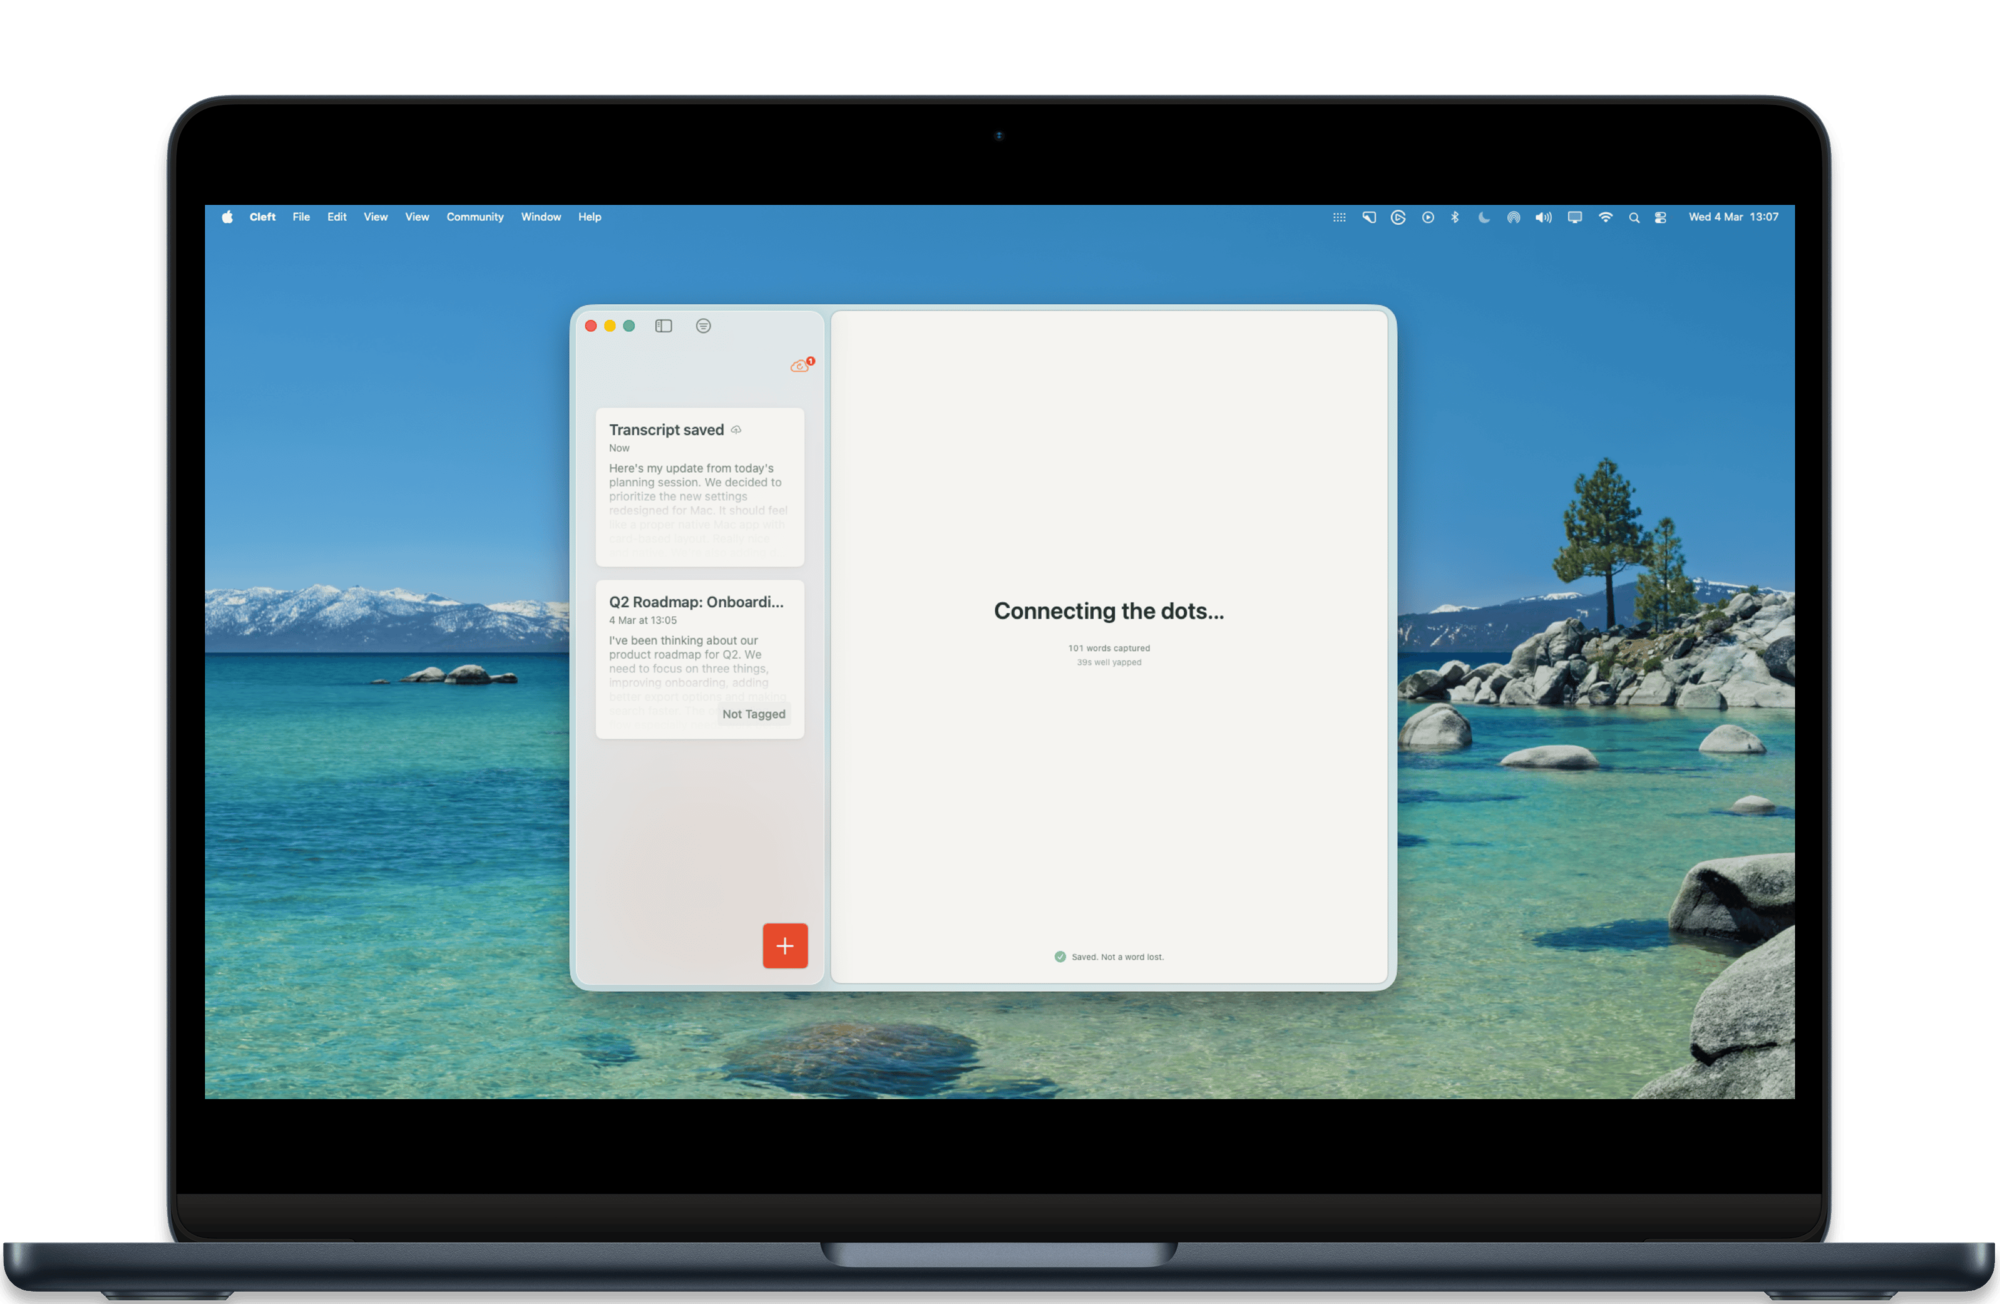
3
Read the formatted note
Cleft gives you back a summary, key points, and any action items. Edit with ⌘ + E, switch to the raw transcript with ⌘ + T.
Start from the sidebar
Two buttons sit at the bottom of the notes sidebar: a pencil for a new text note and the record button, in the Cleft colour, for a voice note. Hover over either one and its tooltip shows the keyboard shortcut. Right-click the record button and choose Continue Note to add to the note you recorded last. Settings → General → Handedness mirrors that row, so with Left hand the capture buttons sit at the left end and Settings moves to the right.Format a note
A formatting strip sits above the editor so you never have to remember where a command lives. Bold, italic, headings, links, lists, inline code, and code blocks are all there, with the common ones labelled on the strip and the rest in its Format menu. The same commands appear in the Edit menu, the right-click menu, and on the keyboard. This needs Cleft 1.15.0 or later.- It shows what you already have. Put your cursor in a heading and the heading control is lit. The strip follows your selection as you move around.
- Works with or without a selection. Select text to wrap it, or use a command at the cursor to start writing in that style.
- Your selection stays put. Clicking a formatting control does not steal focus or move your cursor.
- One undo.
⌘ + Ztakes the whole formatting change back in a single step.
Formatting always applies to the window you started from. If you have several note windows open, a command cannot reach across into another one.
Make the toolbar yours
The note toolbar is customisable in Cleft 1.15.0 or later. Right-click it and choose Customize Toolbar, then drag to reorder or remove Continue, Play, Edit, Tags, Send, Cue Card, Archive, Duplicate, Rewrite, and Save Audio. You can also drag in Details, which opens the note’s tags, dates, word count, language, and file metadata. The Notes/Transcript switcher and the More menu always stay, so you cannot end up without a way back to an action. Choose Restore Defaults to return to the reviewed layout, and your arrangement survives quitting and reopening Cleft. In a narrow window, anything that does not fit moves into the toolbar’s overflow menu, so every note action stays within reach. While you edit a note, the toolbar keeps every control in its place and dims all but Done and the Notes/Transcript switcher, and the shortcuts for the dimmed actions wait too. Press ⌘ + ⏎ or click Done and everything comes back.What Mac is best at
Local Export
Auto-export every note as Markdown to a folder on your Mac. Free for everyone; Plus lets you point it at your Obsidian vault, NotePlan project, Logseq graph, or any folder you pick.
Apple Shortcuts
Trigger Cleft from any Shortcut, Raycast command, or Alfred workflow.
Spotlight search
Cleft notes show up in system Spotlight. Find a thought from anywhere on your Mac.
Keyboard everything
Capture, edit, share, and send to Notion without touching the trackpad.
Mac moments worth stealing
Between meetings, before you forget
Hop out of a Zoom call, press⌥⌘N, talk for 30 seconds while it’s fresh, then save. The next meeting starts before the formatting finishes, and the note is waiting when you get back.
Pair with Writing Style so post-meeting brain-dumps come back as decisions + follow-ups rather than a wall of text.
Turn a meeting into a shareable summary
Record the meeting (or a recap right after), edit the summary with ⌘ + Shift + N, then:- ⌘ + Shift + S. Share via Mail, Messages, or any share-sheet app
- ⌘ + Shift + P. Generate a private link for collaborators
- Option + P. Push straight into Notion
- ⌘ + L. Add tags so it’s findable next quarter
Daily journal with append
One note per day, added to throughout. Use Shift + N to continue the last note instead of starting a new one, your morning intentions, midday wins, and evening reflection all stack into a single entry. Full setup in Daily Capture Routines and Appending to Notes.Sync everything to your Markdown vault
Cleft can write every note to a folder on disk. Free for everyone; Plus lets you pick a custom destination (your Obsidian vault, NotePlan project, Logseq graph, or anywhere). Anything you record on Mac, iPhone, or Apple Watch lands there as Markdown, formatted, tagged, and timestamped. Settings can reveal your active save folder in Finder or show you its exact path, whether you’re on Free or Plus and whether you kept the default folder or picked your own. Turn on the audio toggle and the original recording saves right beside the written note, and Settings shows how many files you have and the total size at a glance.- Set it up: Settings → Local Export
- Full guide: Local Export
- App-specific notes: Obsidian, NotePlan, Logseq, Drafts, Bear
Automate the boring parts
Apple Shortcuts and App Intents expose Cleft’s actions to the rest of macOS. Some starting points:- Raycast / Alfred: Map a hotkey to “Start a Cleft voice note” so capture is one keystroke from anywhere.
- Calendar trigger: Auto-create a “Meeting prep” note 5 minutes before each calendar event.
- End-of-day: A Shortcut that copies today’s notes into your daily review doc.
Pull a thought back via Spotlight
Forgot which note had the quote you wanted? ⌘ + Space, type a phrase, and Cleft notes appear alongside Mail and Files. Click through and Cleft opens directly to that note.All keyboard shortcuts
Hold Command (⌘) in any view to see the shortcuts that work there, including any you have changed.Recording and notes
- ⌥⌘N - Start or stop recording from anywhere on Mac
- N. New voice note (no note selected)
- ⌘ + N. New text note
- Shift + N. Continue last note
- ⌘ + Shift + N. Edit summary
- ⌘ + E. Toggle read/edit
- ⌘ + ⏎. Save note
- ⌘ + T. Toggle summary / transcript
- ⌘ + 1 through ⌘ + 9 - Open the matching note in the current list, filter, or search result
- ⌘ + C. Copy selected text while typing or searching; otherwise copy the current note
- ⌘ + Shift + A. Archive note
- ⌘ + R. Refresh
- Space. Pause / resume while recording
- Esc. Cancel recording
Editing
- ⌘ + B. Bold
- ⌘ + I. Italic
- ⌘ + K. Insert link
- ⌘ + Shift + X - Strikethrough
- ⌘ + Option + 1 / 2 / 3 - Heading 1, 2, or 3
- ⌘ + Shift + 7 - Numbered list
- ⌘ + Shift + 8 - Bulleted list
- ⌘ + Shift + ’ - Block quote
- ⌘ + Shift + C - Inline code
- ⌘ + Option + C - Code block
- ⌘ + F. Find
Sharing and tags
- P. Send note
- ⌘ + Shift + S. Share note
- Shift + P. Share public link
- ⌘ + Shift + P. Share private link
- Option + P. Send to Notion
- ⌘ + L. Add tags
Filters
- ⌘ + /. Toggle filter
- ⌘ + Shift + [. Previous filter
- ⌘ + Shift + ]. Next filter
View
- ⌘ + Option + S. Show or hide the sidebar
- ⌘ + [. Back to the note you viewed before
- ⌘ + ]. Forward again
- ⌘ + +. Zoom in
- ⌘ + −. Zoom out
- ⌘ + 0. Actual size
Window
- ⌘ + M. Minimize
- ⌘ + Control + F. Full screen
- ⌘ + W. Close window
- ⌘ + Q. Quit Cleft
Window behaviour
Cleft keeps one Notes window. Settings (⌘ + ,) and Writing Style (⌘ + .) open in their own windows so you can keep them visible while you work, and Settings opens with its sidebar selected. ⌘ + W closes the Notes window without quitting, and Cleft stays in your Dock. Bring the window back from the Dock, ⌘ + Tab, Window → Notes in the menu bar, a Cleft link, or by dropping a file on Cleft. It reopens once, never as a duplicate, in a sensible position on your displays. The window also keeps the size you gave it when you sign in, go through setup, or sign out.Note windows
Choose Open in New Window from a note’s More menu or its menu in the list, or press ⌥⌘O, to give a note a window of its own. Opening a note that already has a window brings that window forward. A change you save in any window shows in every other Cleft window straight away.Keep a note beside the one you’re writing
In a wide Notes window, choose Keep as Reference from a note’s More menu. Open another note and the first one stays beside it, read only. Click Open in the reference to swap the two, or Stop Keeping as Reference to close it. The reference steps aside while you record or write a new note, and when the window gets too narrow for both. When Cleft reopens, the Notes window comes back on the note and view you left, for the account that left it there.Back and forward
Cleft remembers the notes you viewed since you opened it. Use the back and forward buttons in the toolbar, Navigate → Back and Navigate → Forward in the menu bar, or ⌘ + [ and ⌘ + ]. A note you deleted in the meantime is skipped.Smaller windows
In a compact window, note actions that do not fit move into the toolbar’s overflow menu, long note titles stay readable, and Settings stays at the bottom of the sidebar without covering your last note.Help inside Cleft
The Help menu opens the user guide right inside Cleft, even offline. Pages open at the topic you chose, search covers every page, and related pages link to each other.Connect an AI app
Agent Access lets an AI app on your Mac read and search your notes without permission to change or share them. Set it up in Settings → Agent Access, and see Agent Access for each app’s setup.Staying up to date
When a newer version of Cleft is ready, a gentle reminder appears on your Home screen and takes you straight to the update. It never blocks a recording, and you can dismiss it for now.Audio
Input devices
Input devices
Pick your mic from the recording controls:
- Built-in microphone. Works out of the box
- External USB mic. For studio-quality input
- AirPods and Bluetooth headsets. Paired devices switch in automatically
Permissions
Permissions
macOS asks for microphone access the first time you record. If access is off when you start a recording, Cleft offers to open System Settings for you. To check it yourself:
- Open System Settings → Privacy & Security → Microphone
- Make sure Cleft is allowed
- Restart Cleft after granting access
Appearance
Cleft follows your macOS appearance, Light, Dark, or Auto. Change it in System Settings → Appearance.Troubleshooting
Related guides
- Recording Voice Notes. Mic technique, languages, recording length
- Writing Style - shape how Cleft formats your notes
- Keyboard Shortcuts. Every shortcut across every platform
- Local Export. Auto-export every note as Markdown to a folder you choose
- Apple Shortcuts. Automate Cleft from anywhere on your Mac
- iOS. The pocket sibling, where most capture happens
- iPadOS. What changes when you move to a tablet